Even though WWE 2K22 is an official WWE game, the developers have given players lots of tools to produce their content to make the wrestling experience they need. Players can create their wrestlers, titles, movesets, and arenas using their company organizations.
So if one wanted to have Roman Reigns and also the Rock do battle in an AEW Dynamite or NJPW arena, they have the various tools to do so in WWE 2K22. The Creation Suite even allows players to download another creator's content if they don't wish to spend hours uploading and shaping textures.
However, one question that gets asked a lot is how to utilize a custom arena in WWE 2K22. It is because custom arenas are missing even after downloading or creating an arena and selecting Match Options in an Exhibition bout. Here is a guide on how to use Custom Arenas in WWE 2K22.
How you can Produce a New Show
To use a Custom arena in WWE 2K22, players will need to download or create an arena of their very own first, then Create a Show. Here is the process of how you can produce a show in WWE 2K22 and use Custom Arena in an exhibition match.
- Head into the Creations Menu.
- Select the Show tab from the menu.
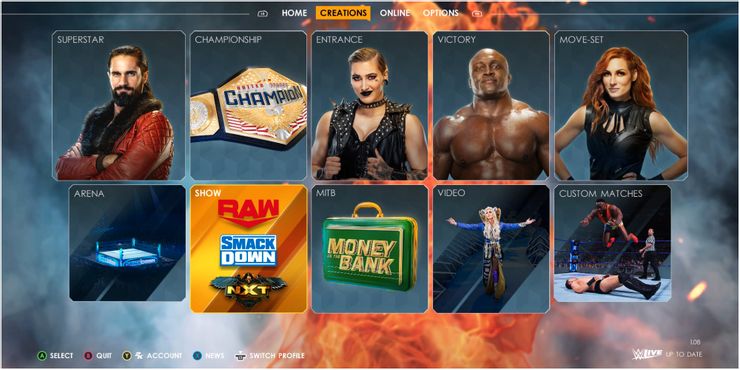
- Select New.
- Players will now find themselves in the Produce a Show menu screen.
- Select the Arena tab.
- Press R1/RB.
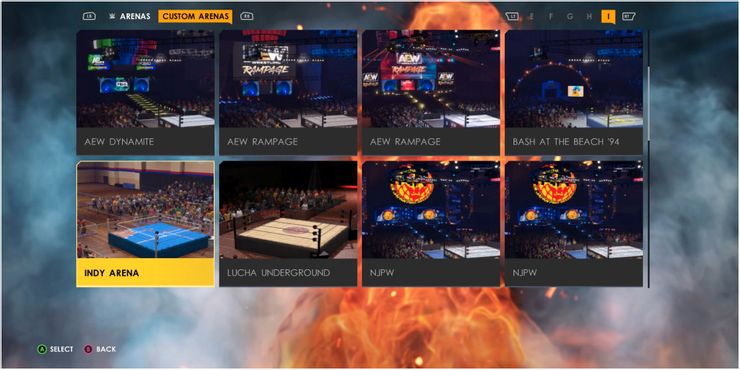
- And choose the specified Custom Arena.
Create A Show Options Explained
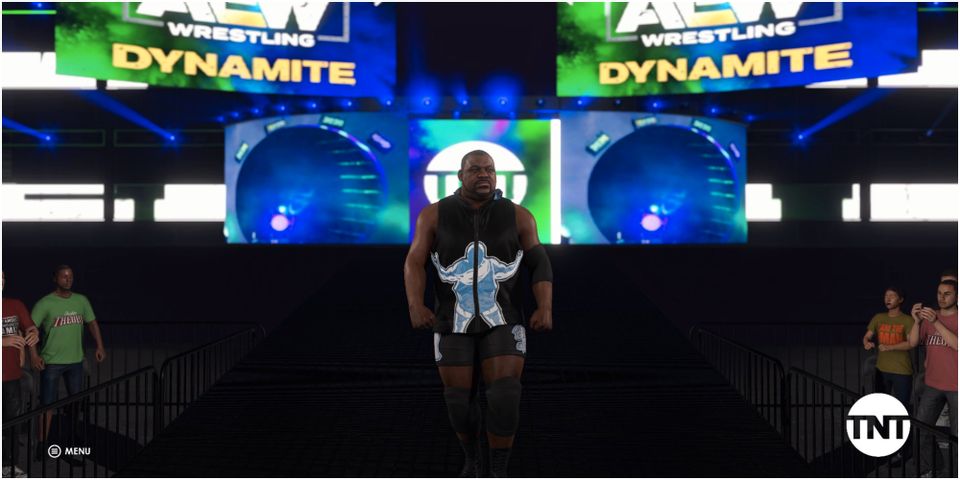
The Produce a Show menu allows players to completely customize their shows to duplicate other promotions, WWE Pay-Per-Views, or their own crazy made-up shows and events in WWE 2K22.
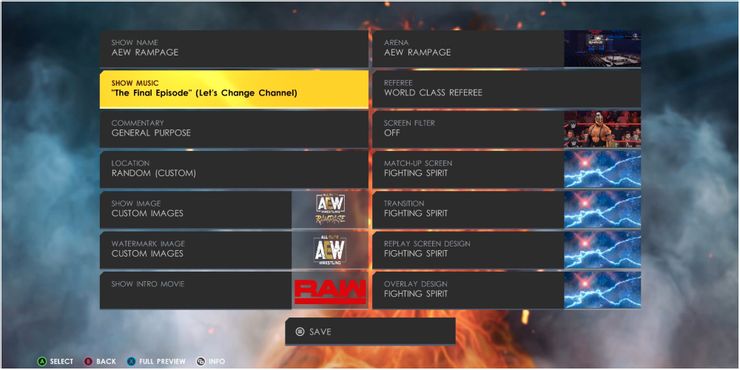
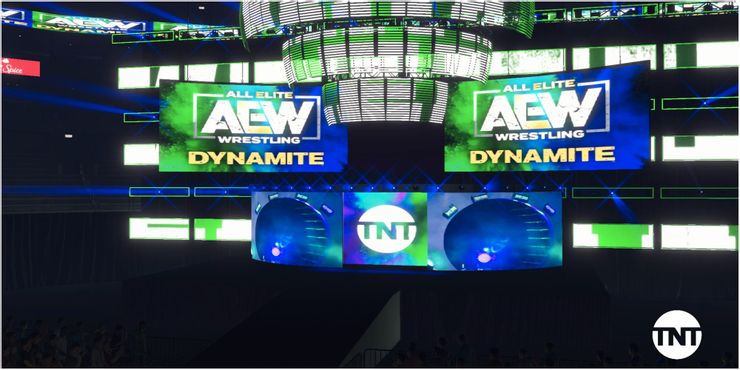
- Show Name: This lets players change the name of their show to something similar to AEW Dynamite as an example.
- Show Music: The show's music can be chosen from official WWE Shows, a superstar's entrance music, or some original themes from the elements screen,
- Commentary: Players can choose commentary related to specific WWE shows and PPVs or select the General Purpose option for other promotions.
- Location: This lets the player select the location and country from the show.
- Show Image: This allows players to select from a range of pre-installed images and logos, or they can select Custom Images which have been created or downloaded from the Creation Suite.
- Watermark Image: The watermark image represents the on-screen logo in the corner of the screen. Therefore if players desired to have the TBS or TNT logo within the corner instead of WWE for his or her AEW show, they are able to do so by choosing the Custom Images option after creating or downloading from the Creation Suite.
- Show Intro Movie: This lets players select their show intro movie in the official WWE openings to Elements.
- Referee: Players can choose WWE, WCW, Japanese, indie, and retro-style referees for his or her show.
- Screen Filter: Players can pick a filter that makes their show look like it's in the 80s, 90s, black and white, VHS, and there's even an 8-Bit way of retro game fans.
- Match Up Screen: This allows players select a choice of premade backgrounds for that verses screen once the match loads up.
- Transition: Players can choose premade transition screens to add to the show's presentation between matches.
- Overlay Design: Players can pick a selection of premade overlay designs that appear towards the top of the screen once the match starts.
- Replay Screen Design: These are a selection of premade backgrounds for that post-match replays and highlights.
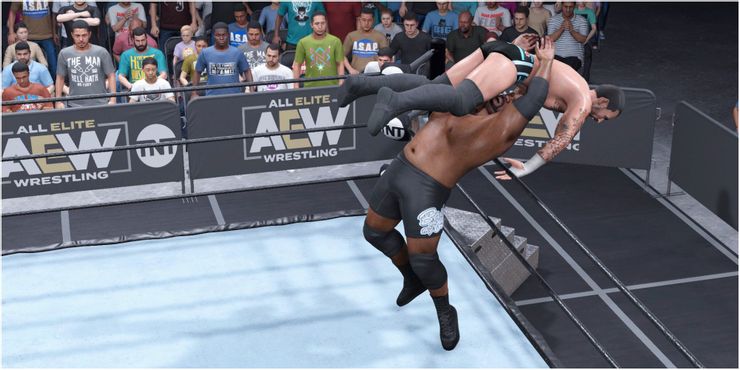
With the desired options and designs selected, players should save their Show, and they will now be able to choose the custom area in all exhibitions and special matches in WWE 2K22 via the match options before beginning a match.
WWE 2K22 can be obtained for PC, PS4, PS5, Xbox One, and Xbox Series X/S.