Quick Links
- How to Prepare to battle The Dragon Lord
- Phase One: Grounded Dragon Lord
- Phase Two: Flying Dragon Lord
- Phase Three: "Bernadette" and The Dragon Lord
- Reward for Beating The Dragon Lord
Hardcore gamers throughout the world have always enjoyed fighting bosses, especially if they drop some awesome loot. And also the Borderlands series is renowned for requiring plenty of boss farming if players want to level up, earn money, and obtain Legendary Loot. And Tiny Tina's Wonderlands isn't any exception since it features a large number of bosses that gamers can farm for awesome gear.
But, some bosses in Tiny Tina's Wonderlands can be challenging to beat. And it's no real surprise the final campaign boss is among the most difficult ones. And that's because The Dragon Lord has several tricks up his sleeve that can catch a person off guard, ultimately leading these to their death.
How to Prepare to battle The Dragon Lord
Before players head in the portal resulting in in charge fight, they'll wish to have the right weapon and spell equipped. As players will notice, The Dragon Lord begins with three bars: Ward, Armor, and HP. So, players will need to have a minimum of three Elemental Damage weapons: Lightning, Poison, and Fire.
But, during the fight, players will need to fight some minor enemies (Skeletons, Spectrals, and Wyverns), which have a grayish bar prone to Frost Elemental Damage. Regarding spells, players need to use AOE-based spells since there are always minions roaming the area and AOE spells are very good at crowd-controlling enemies.
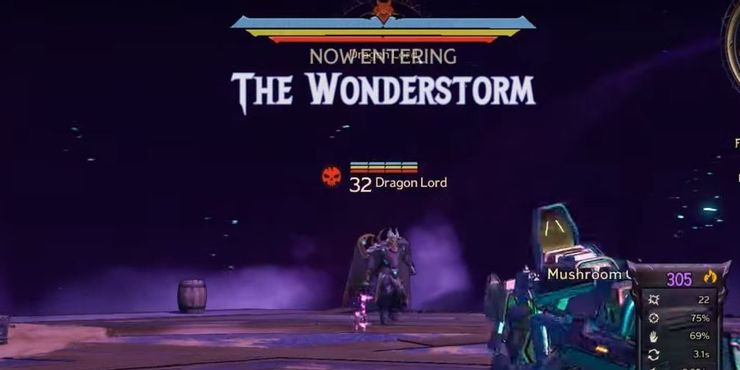
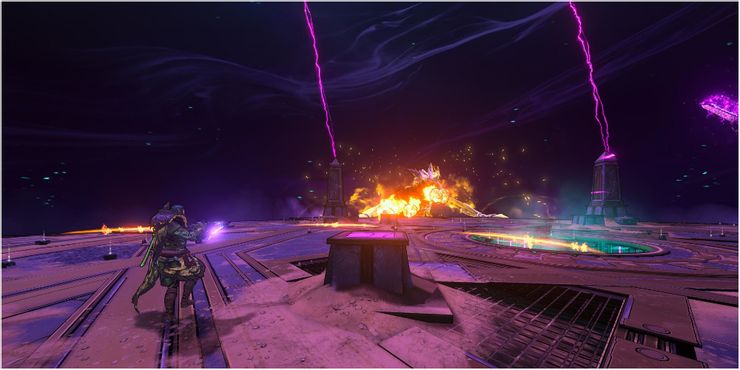
Finally, players should know their surroundings. In charge fight area isn't particularly big, so players can accidentally fall off, thus restarting in charge fight phase. Moreover, you will find three boss phases: Ground Phase, Flying Phase, and "Bernadette" Phase, which will be covered within the guide.
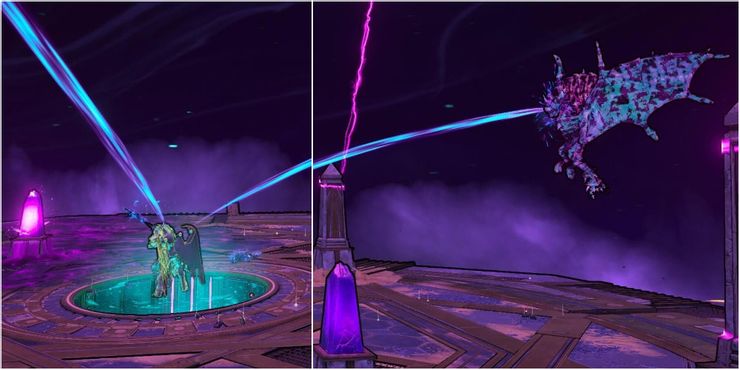
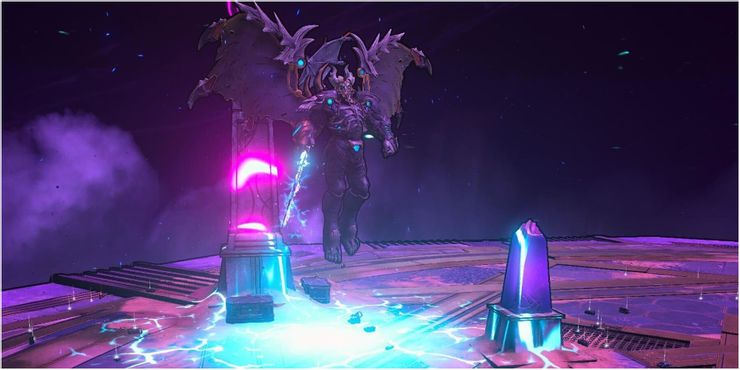
Phase One: Grounded Dragon Lord
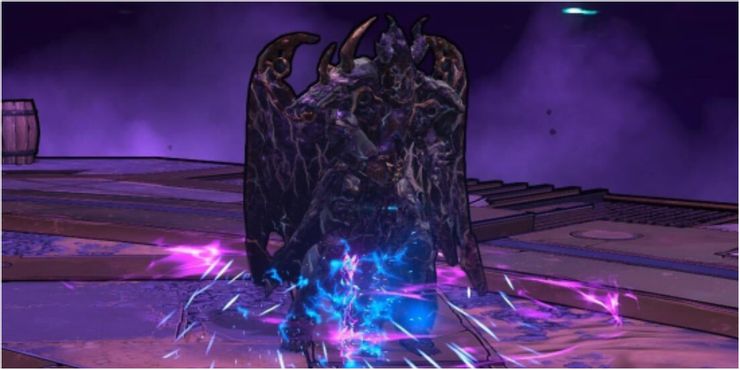
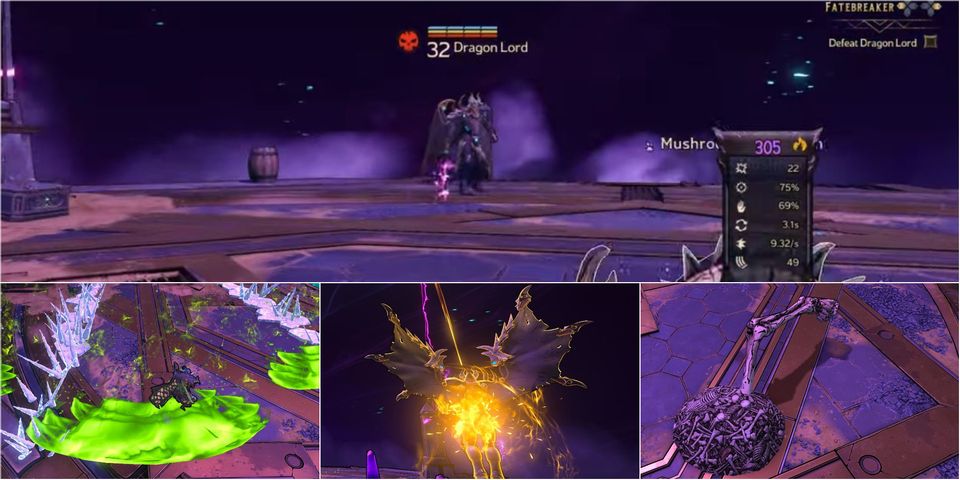
During the first phase, The Dragon Lord will remain on the ground, only warping around the area after receiving a specific amount of harm. Throughout this phase, he'll summon Shambling Skeletons that players can easily kill having a powerful AOE spell or the DOOM-inspired SMG. He'll also provide various attacks that players should know.
Ice Ground Attack
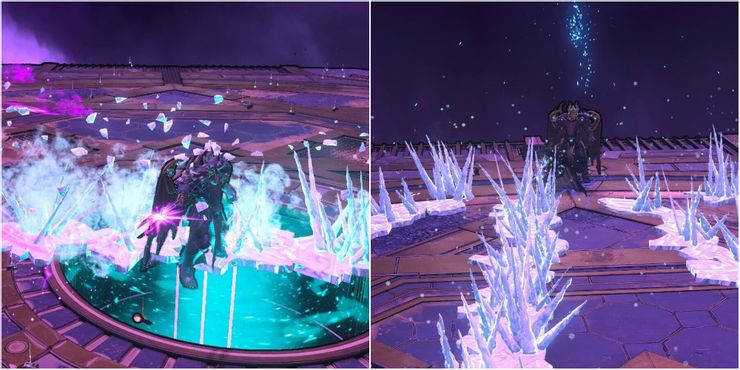
The Dragon Lord will slam the ground, creating fissures of icicles that'll deal damage throughout the slam. Furthermore, the ice will break after a couple of seconds, causing Frost Elemental Harm to the gamer if they're near it.
Homing Lightning Attack
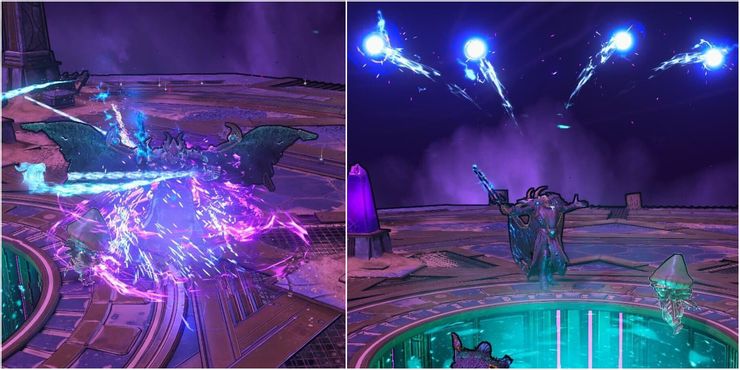
Players ought to be careful every time they see The Dragon Lord forming several Lightning Balls since he'll cast them in the player, causing massive damage. In addition, the Lightning will chase the gamer for a while, so players should keep moving until they disappear. The Sporewarden's Mushroom companion is very beneficial in aggroing the Lightning, so players should think about using it like a secondary class.
Poison Blast

The Dragon Lord will blast a sizable Poison-based attack that will not only damage the player but could potentially push them from the floating arena. Players can avoid this attack by jumping regarding this or hiding behind one of the pillars.
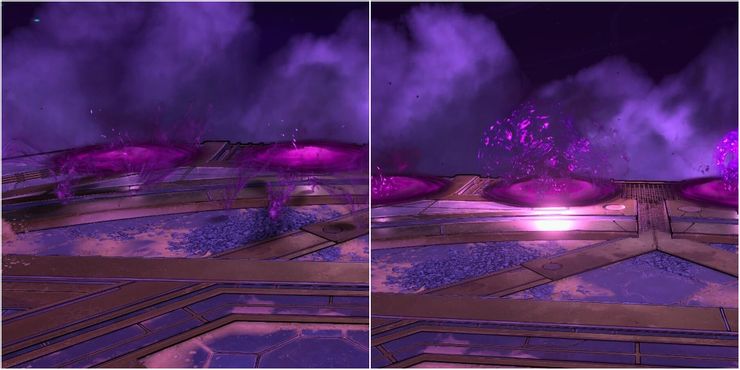
Enchant Crystal
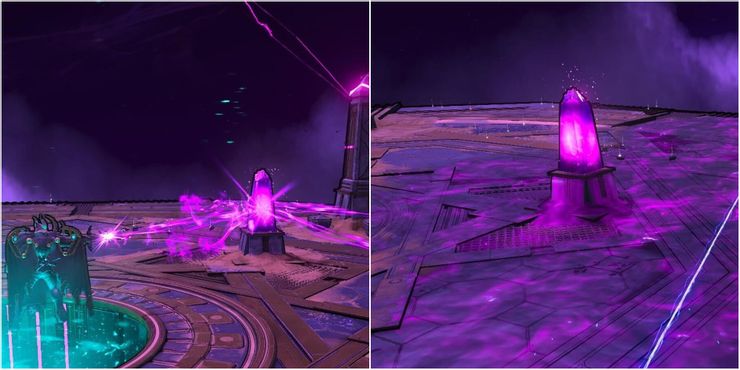
The Dragon Lord will enchant one of the four crystals found in the middle of the arena throughout the fight. After completing his enchantment, the region all around the crystal will have purple goo which will continually damage the player. Players can destroy the crystal with Poison Elemental weapons as it's heavily armored.
Fireball
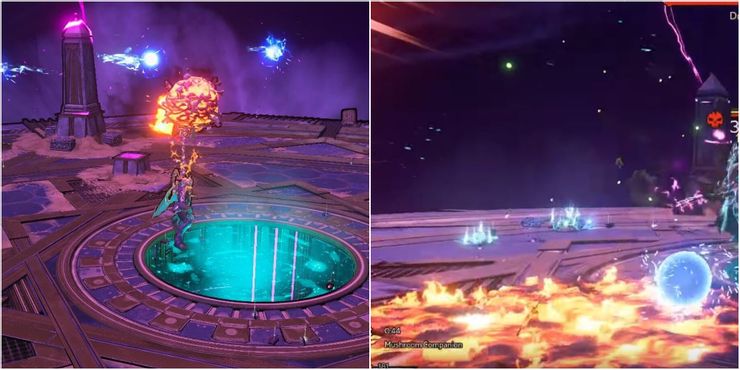
The Dragon Lord will conjure a huge fireball that he'll use to throw in the player. Moreover, wherever the fireball lands, it'll produce a brief fiery crater.
Dark Blade Swing

The Dark Lord will swing his blade several times, releasing an arc of Dark Energy. Players can dodge these attacks by crouching or hiding behind a pillar.
Skeleton Slam
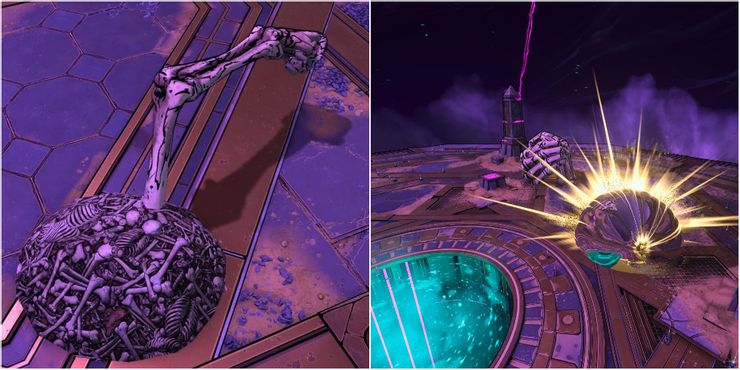
The Dark Lord summons a giant Skeleton arm that'll slam the floor. This slam attack deals damage and pushes the player, another reason to stay for the center of the arena.
Spectral Aegis
Every so often, The Dark Lord will summon four Spectral Aegis that'll replenish his Ward. Players will need to defeat them as quickly as possible, or they'll replenish his entire Ward, thus lengthening the battle.
Spectral Wyverns
Every time the gamer depletes among the Dragon Lord's bars (throughout the first phase), he'll disappear and summon Spectral Wyverns. But, the aim of these Spectral Wyverns isn't to damage the gamer but to knock them from the arena. Fortunately, they're weak to Frost Elemental Damage, which the Brr-Zerker class has plenty of.
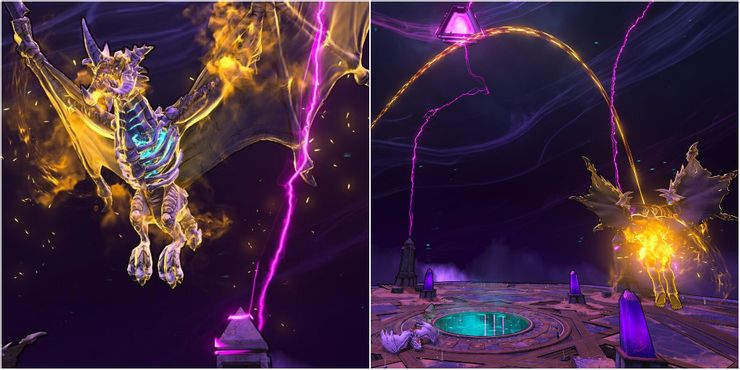
Phase Two: Flying Dragon Lord
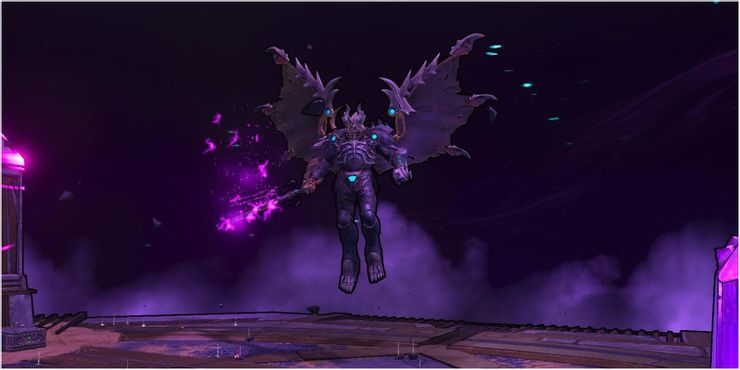
Once that player depletes his HP bar, he'll briefly disappear and reappear with a brand new Armor and HP bar. But, this time around, he'll be flying around the world, and while he retains some previous attacks, he also gains some new ones. A crit-based build like this from the Mistdancer can prove effective in this second phase.
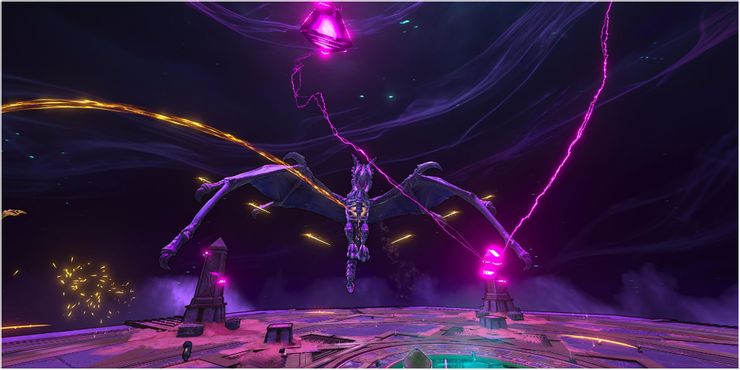
Dark Blades Throw
The Dark Lord summons three large spectral blades he throws in the player. And just like the previous attacks, this attack can push them off the arena, so players should avoid being hit close to the edge.
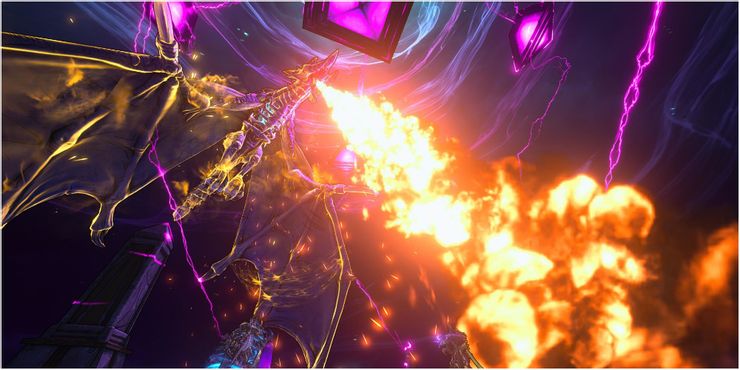
Summon Wyverns

The Dark Lord will summon Wyverns throughout the battle that'll aid him. The flying ones will deal Fire Elemental Damage, and people on the ground will lunge themselves at the player.
Ice Slam
Periodically, The Dark Lord will teleport towards the player and slam the ground with a powerful ice attack. Players should note that the ice lingers for a few seconds before disappearing.
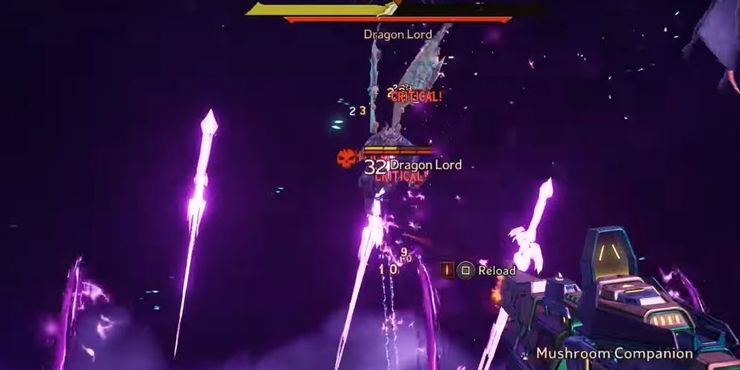
Phase Three: "Bernadette" and The Dragon Lord
Once the gamer depletes The Dark Lord's Armor and HP bar, he'll summon a strong new ally, Bernadette the Dracolich. In this final phase, he'll emerge just with an HP bar, but after receiving a specific amount of damage, he'll tether to Bernadette, which at that time, the gamer will have to attack her.
Moreover, he'll still summon Wyverns, making the battle much more chaotic. Players may come prepared having a powerful Frost Elemental weapon (maybe by making money among the SHiFT codes) as Bernadette is weak to Frost. Typically, The Dark Lord retains the attacks from his second phase, but players will have to be aware of Bernadette's attacks.
Fiery Breath
Bernadette unleashes a powerful fire attack that covers a sizable radius. Players can make use of the pillars given that they offer some defense against this attack.
Gust Attack
Players ought to be extra careful once they see Bernadette spread her wings as she's preparing a strong gust attack that may push the player from the arena.
Fireballs
Bernadette shoots several large fireballs which will cause the area they land to ignite with fire.
Dragon Lord Tether

After the player deals a certain amount of harm to The Dragon Lord, he'll tether to Bernadette. During this period, players will need to attack Bernadette until she releases him. This can continue to happen until Bernadette is defeated.
Reward for Beating The Dragon Lord

Once defeated players, The Dragon Lord will drop money and lots of high-quality loot. Moreover, players will go down the hole at the center of the arena, where they can loot eight chests.
And the good thing is the fact that players can repeat this battle as often because they want, and it always lets them loot the chests. If players are can not beat The Dragon Lord, they should try to farm some Legendary Loot after which repeat the process.
Tiny Tina's Wonderlands is available for Playstation 4, Playstation 5, PC, Xbox One, and Xbox Series X/S.